Garden Hacking - Plant Monitor
A couple of years ago I received a "chili in a can" as a bit of a joke gift and I didn't take it too seriously, but never-the-less I followed the instructions and actually managed to grow a good few chili plants in the harsh and unforgiving environment that is my house.
https://www.instagram.com/p/BEGU4uTDhsJ/
At the time I was teaching myself how to cook properly and so driven on by the success of the chili plants I started growing my own herbs as well and all was well with the world.
https://www.instagram.com/p/BIccDEwAYMM/
Fast forward to now. It's January. It's cold. I'm cold. The cat is cold, and my permafrosted car has a small family of penguins who've made themselves at home in the boot. Whilst it is cold, and the days are still short, it is also the recommended time to plant chili seeds for the year - especially the hotter varieties.
I've never done early planting and I'm worried about the heat (or lack thereof) and also I'm pretty forgetful when it comes to watering schedules. The later is not a big problem as forgetting to water plants is fine in Scotland when they live outside as it rains a fair bit.
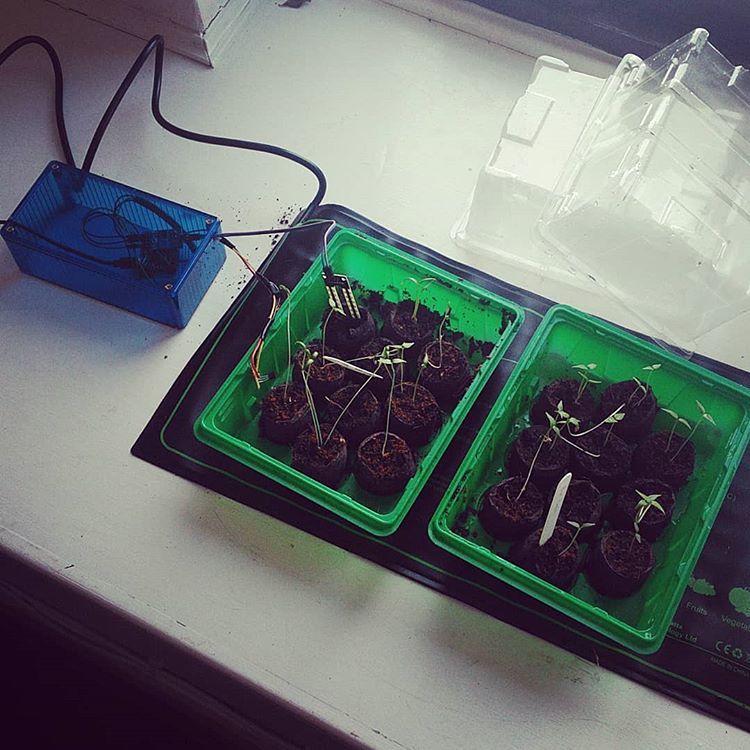
What's a geek to do with all this worry? Well, that's easy - create an over-the-top monitoring solution of course!
https://www.instagram.com/p/BeK6qDjg2U5/
I've gone through a few iterations of this, and will likely go through a few more iterations before I'm happy. So far the iterations are:
- Local monitoring using the standard Espurino board. (Github repo/instructions)
- Remote monitoring by plugging the Espruino board straight into a raspberry pi zero via USB to essentially use the Espruino as an analog reader for the pi. (Github repo/instructions)
My current setup is using a shiny new Espruino WiFi that basically cuts out the pi (middle) man.
Note: the raspberry pi doesn't have analog reading built in and you need additional hardware to get it.
System Architecture
The architecture for this is pretty straightforward:
- Espruino reads soil moisture levels and temperature data at a set interval (I've got mine set up for every minute or thereabouts).
- After collecting this data it sends it to a remote web server running a PHP application to store this information.
- The PHP application has the business logic to look at the data and if the data is out of bounds, and the previous data wasn't out of bounds, it mails me.
- Bonus step: I also made an Amazon Alexa app to tell me how things are on command which is beyond overkill but was fun to do.
If you want the TL;DR version, here's a link straight to the Github repo which includes instructions in the README.
Espruino Soil and Temperature Reader
Why Espruino? Well, why not. I backed the Kickstarter because as an Arduino fan and as a web developer, I was intrigued by the idea of a microcontroller running Javascript. Also, it was the first microcontroller that came to hand when I went about hacking a set of battery powered lights for my Christmas tree.
Shopping list
- Espruino
- One Wire Digital Temperature Sensor - DS18B20
- Soil Moisture Sensor
- 4.7K resistor - If you don't have one, get a resistor pack
Wiring it up
There are only 2 sensors in this project, both share the ground rail. The temperature sensor takes its power from the 3.3v rail, but the soil moisture sensor takes its power from the B9 pin which is turned on for one second before taking the reading and then turned off. This is to conserve the sensor as keeping it on corrodes the sensor. To follow along with the pins, see the pinout diagram on the Espruino WiFi page.
Soil Sensor (Analog output)
- VCC - straight to pin B9
- GND - ground rail
- DO - not used
- AO - straight to pin B0
Temperature Sensor
With the rounded side facing away from left to right:
- 0 - Ground rail
- 1 - pin B1
- 2 - 3.3v rail
Note: You need to put the 4.7K resistor between pins 1 & 2 (data and power)
Configuration
The server endpoint details and token details are in a "module". This is to allow any configuration updates (WiFi, or endpoint) to not be tracked by git (see this post if you're doing this yourself). The configuration file is "modules/projectConfig.js" and is just a simple JSON file. Be sure to plug in your own details into it before running.
Web Application
I've written the application in PHP because my web server has it running already for this blog. You may write your own application in whichever language you choose. All it does is the following:
- Receive a form post request.
- Gets previous data from a file and checks if either temperature or moisture has failed since last time.
- Act on the data if needed to email the user.
- Save the new data to a file.
The application also handles an HTTP GET request for data and will output the last saved reading in plain text by default or JSON format.
The example app lives inside the php_server_example folder of the Github repository.
Bonus: Alexa
Creating an Alexa skill is not particularly easy the first time you try to do it, thankfully Amazon is currently trying to get people interested in it and have created a quick start guide in python. Through the guide, you set up a free tier account on AWS and create a lambda function to host your Alexa app code. You could host the code yourself too, but there are some requirements Amazon need in terms of SSL.
A couple of things I found:
- Host your lambda function as geographically close to your Echo as possible. For me, in Scotland, I used Ireland.
- Create the Alexa app with the same language setting that your Echo has. My Echo is set to English (U.K) and so I used English (U.K) as my language setting when creating the Alexa app.
The code for the Alexa app is contained within the repository. To get it working, follow along with the quick start guide and then overwrite the lambda code with my code contained within the "lambda_function.py" file. You'll need to setup 3 environment variables:
- ALEXA_APP_ID: You can get this from the Alexa dashboard where you created the skill
- WEB_AUTH_TOKEN: The "SUPER_SECRET_TOKEN" you set up to share data between the Espruino and your web application.
- WEB_ENDPOINT: The URL to get the data from. This is the same URL that your web application runs on. Alexa calls it as a get request with the "WEB_AUTH_TOKEN".
In the Alexa dashboard where you set up your intents, use the beta editor, then select code editor and overwrite what is there with the JSON contained in the "interaction_model.json" file.
The Alexa app will echo (see what I did there) out the information it pulls from the PHP application. On your Alexa app, it will display the raw temperature and moisture data on a card so you can see what exactly is going on should you need to.
Future additions to this project
I'd like to get a few more soil and temperature sensors and have them monitor a couple of small propagators and an already established houseplant. With this addition, I'll likely try to expand the Alexa app to cope.
I'd also probably want to store the information in a data store and then graph it out so I can see changes over time and use a Progressive Web App to output this so I can view stats more easily on my phone.