Testing with Create React App - Part 2
Testing 101
If you haven't read it already, you might want to look back at Testing with Create React App - Part 1 which provides a gentle, lightweight, introduction into the who, what, where, when, and why of testing.
Testing Components
Unit testing a small function follows an easily digestible pattern:
- we provide some input to our function through parameters
- the function does its' thing
- then we expect the function's output to match our expectations
But what about a react component?
Well, that's a little trickier but not as complicated as you might think it to be. Think of how a react component works:
- we provide some input to our component through props
- the component renders itself, or re-renders due to some state change
- then we usually expect so see something on the screen that matches our expectations
Enter, React Testing Library
Fortunately, a nice group of people have already done the leg work and provided us React Testing Library to help us test our components.
You can stop reading this and go have a quick skim over the introduction if you like. This post won't go into all the ins and outs of it, it's just to get you started. Or at least thinking about starting.
Getting Setup
Nothing is ever as simple in development as things 'just working' out-of-the-box. As of writing this post (June 2020), there's a little extra setup to get things working.
First, install the React Testing Library along with the Dom Testing Library and User Events helper. We'll quickly cover what these are in the next section.
yarn add --dev @testing-library/jest-dom @testing-library/react @testing-library/user-eventor
npm install --save-dev @testing-library/jest-dom @testing-library/react @testing-library/user-eventNext, you need to install something called 'jest-environment-jsdom-sixteen' to stop a mutation error being thrown each time you try and test. You can do this by either
yarn add --dev jest-environment-jsdom-sixteenor
npm install --save-dev jest-environment-jsdom-sixteenFinally, update your package.json file so that the scripts test entry reads as:
{
  ...
  "scripts": {
    ...
    "test": "react-scripts test --env=jest-environment-jsdom-sixteen"
    ...
  }
}
The Pieces of the React Testing Library Puzzle
In the previous section you installed 3 different packages (minus the additional Jest one to help us run the test):
- jest-dom: This library helps us to query the DOM after a react component has rendered or re-rendered
- react: This library helps us to render our components to allow us to then assert them with jest-dom
- user-event: This library helps us to mock user interaction with our components - changing input fields, clicking on things e.t.c.
Example Test
Here's a component that takes a numerical monetary value and submits it up the component tree if it passes some rudimentary validation and if it doesn't pass the validation it displays an error message:
import React, { FunctionComponent, useState } from 'react';
type ReadingFormProps = {
onSuccess: (reading: string) => void,
onClear: () => void,
};
const ReadingForm: FunctionComponent<ReadingFormProps> = ({onSuccess,onClear}) => {
const [invalidInput, updateErrorStatusTo] = useState<boolean>(false);
const onReadingSubmission = (e: React.FormEvent) => {
e.preventDefault();
const readingInput: HTMLInputElement | null = (document.getElementById('reading') as HTMLInputElement);
if (readingInput){
const resetForm = () => {
readingInput.value = '';
readingInput.focus();
updateErrorStatusTo(false);
};
if (!isNaN(parseFloat(readingInput.value))) {
const readingValue = parseFloat(readingInput.value).toFixed(2);
onSuccess(readingValue);
resetForm();
} else if(readingInput.value !== '' && readingInput.value.toLowerCase() === 'clear') {
onClear();
resetForm();
} else {
updateErrorStatusTo(true);
}
}
};
return (
<form onSubmit={onReadingSubmission}>
<div className="input-row">
<label htmlFor="reading" className="sr-only">Latest Reading</label>
<input className={invalidInput ? 'error' : '' } id="reading" type="text" autoComplete="off" placeholder="Reading (e.g. 34.22)" />
<button><span className="sr-only">Submit Reading</span>+</button>
</div>
{invalidInput && <p className="error-message">Please enter number or "Clear"</p>}
</form>
);
}
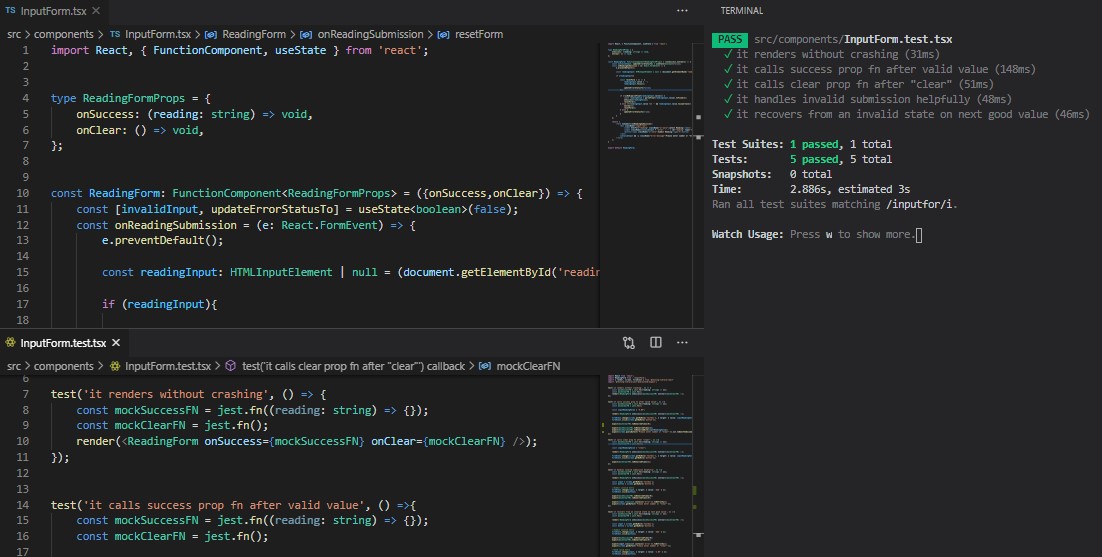
export default ReadingForm;Here is a test for this component
test('it calls success prop fn after valid value', () =>{
    const mockSuccessFN = jest.fn((reading: string) => {});
    const mockClearFN = jest.fn();

    const inputReadingValue = "5.04";

    render(<ReadingForm onSuccess={mockSuccessFN} onClear={mockClearFN} />);

    fireEvent.change(screen.getByRole('textbox'), { target: { value: inputReadingValue } });
    fireEvent.click(screen.getByRole('button'));

    expect(mockClearFN).toBeCalledTimes(0);

    expect(mockSuccessFN).toBeCalledTimes(1);
    expect(mockSuccessFN).toBeCalledWith(inputReadingValue);

    expect(screen.queryByText('Please enter number or "Clear"')).not.toBeInTheDocument();
});
A lot is going on here, but let's look at it one line at a time.
Testing in isolation
As with standard unit testing, we don't want any dependencies leaking into our component under test. Here, for instance, our component takes a onSuccess function and onClear function passed down through props. We don't know what these functions do in our parent component, nor should we care.
Instead, we can 'mock' these prop functions to do no work and then check during our test that they've been called, or not called, at the right time and with the right information.
For this, we first define our mock function using Jest's built-in jest.fn which takes a function as its' parameter. The onSuccess function defines itself as requiring a string reading parameter so we include that in our mock function.
Render
We use the React Testing Library to then render our component into a virtual dom. This is the same as getting React to render our main top-level component into the user's DOM.
User Interactivity
We use the User Event Library to input some reading into our text box and then click the submit button. The User Event Library can do a lot of cool things and is worth a quick study.
Expectations
We then check to see that our component behaved as we expected by asserting prop functions were called, called with the right information, and the onClear prop function was not called.
Then, finally, we check the dom to ensure that submitting a valid reading doesn't present the user with an error message.
The DOM Testing Library
You might be looking at that test and wondering what all the getByRole and queryByText is about... Why not just document.querySelector('...')? The authors of these Libraries have the goal of helping you test your components the same way a user would use them. Keep in mind that the user could be impaired and using aria attributes to navigate and parse your application. Therefore if you can navigate your component using this framework, the end-user can navigate your component. Everyone wins.
What Next?
Hopefully, this was a nice little introduction to testing React components!
This is barely scratching the surface, there's a ton of documentation on the React Testing Library's site to help you with just about anything including async testing. If you're writing a small React application as you read this, try and test it. It will be possibly a frustrating exercise to do so as there are a lot of hurdles with React Testing Library if your app isn't nicely decoupled and is not accessible.
Next time out, we're going to look at how to automate testing your app as a whole, just as if it was the user sitting in front of the screen using it.